


This turned out to be so easy. I wish I would have attempted it sooner!

I started out with a cheap basket. I wanted one with a large handle simply because I knew the volume of the moss would make the basket look smaller.

I painted the basket black so that any bare spots would not be as noticeable.

I used moss that comes in a bag. The moss is folded into a ball.
You have to unroll the moss and tear into the size pieces you need.
I used Elmer's Craft Bond spray adhesive to attach the moss.

I sprayed small sections of the basket with the adhesive (it is very sticky) and then placed the pieces of moss on to the basket. What you see above is 2 sections. I did use 2 bags of moss for this basket. Notice I didn't paint the bottom of the basket. You will not see this.
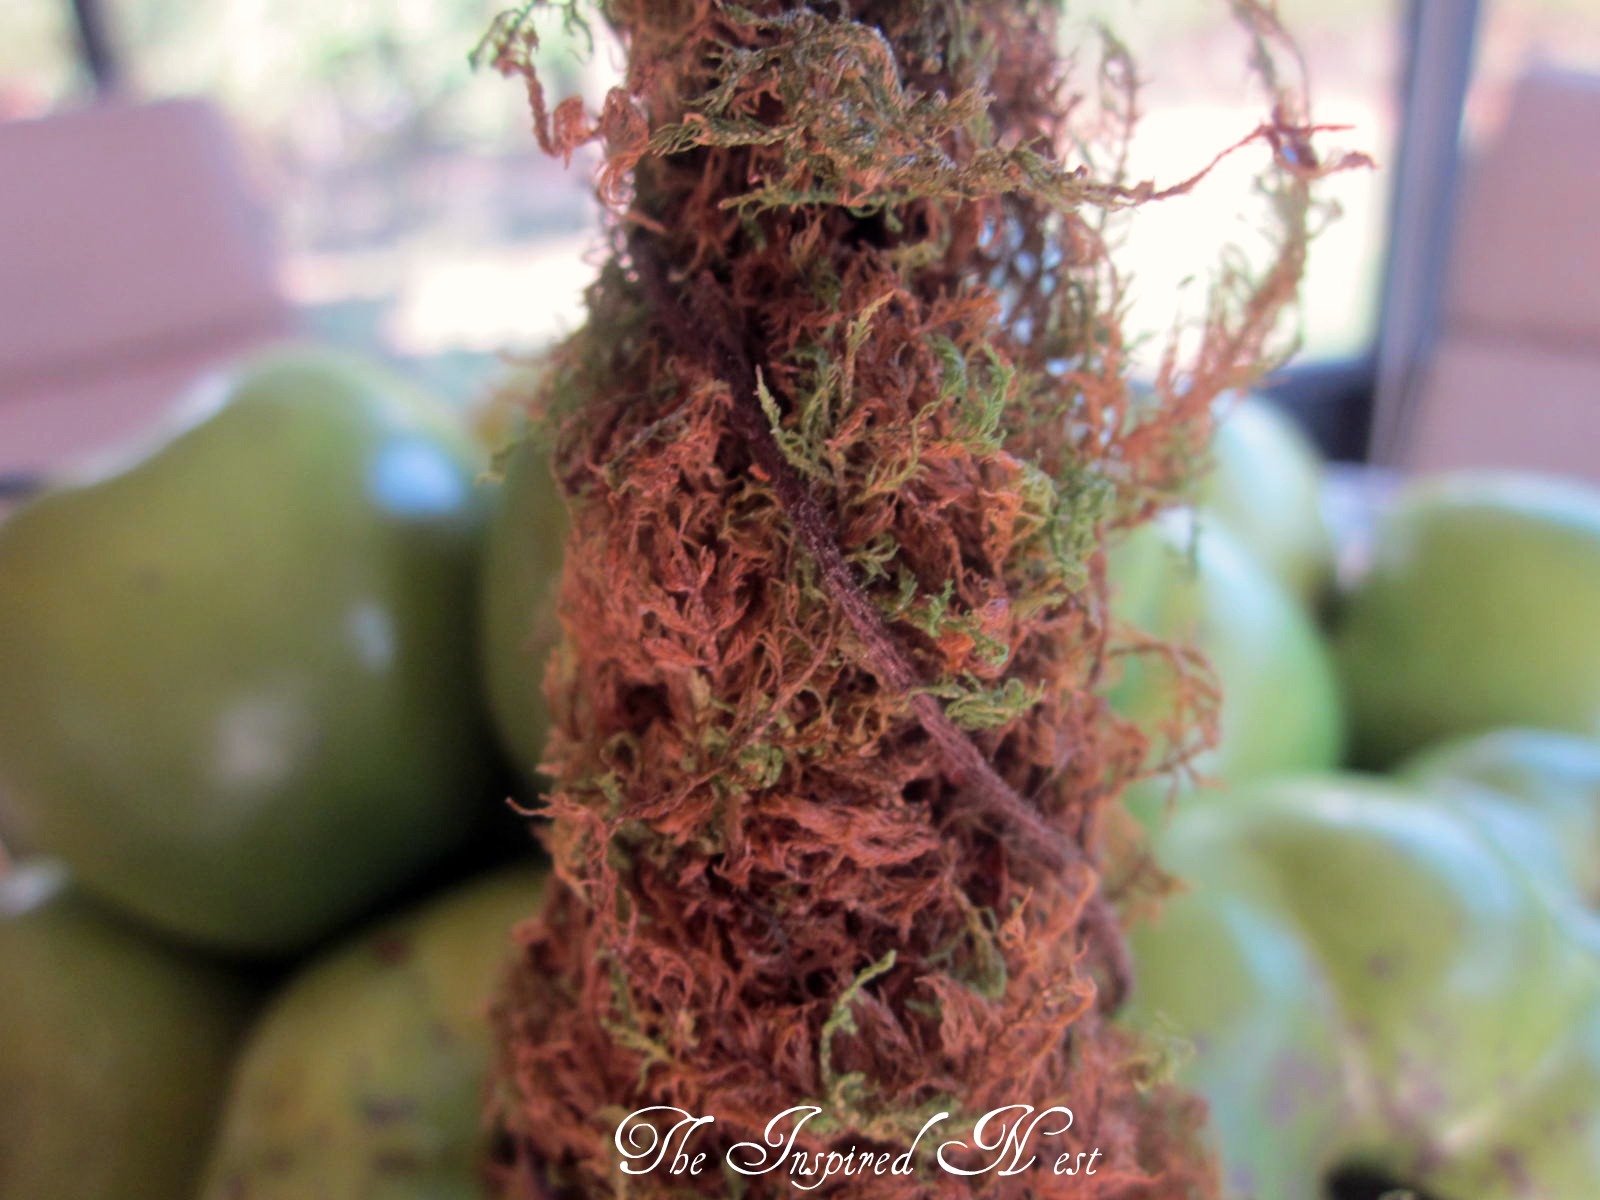
Here you can see the embroidery floss that I have weaved all over the basket. I did this to help hold in the moss. The adhesive does a good job of keeping the moss on the basket but the moss has a mind of it's own and puffs up after while. I did spray more adhesive over the entire basket at the end to help control fly aways (just like you would with you own hair with hairspray). I did a sloppy job of wrapping the floss around because it was not the easiest to get done.

The moss is on the inside as well.
I couldn't find a happy stopping place that I thought looked good.
I was very happy with the way it came out.
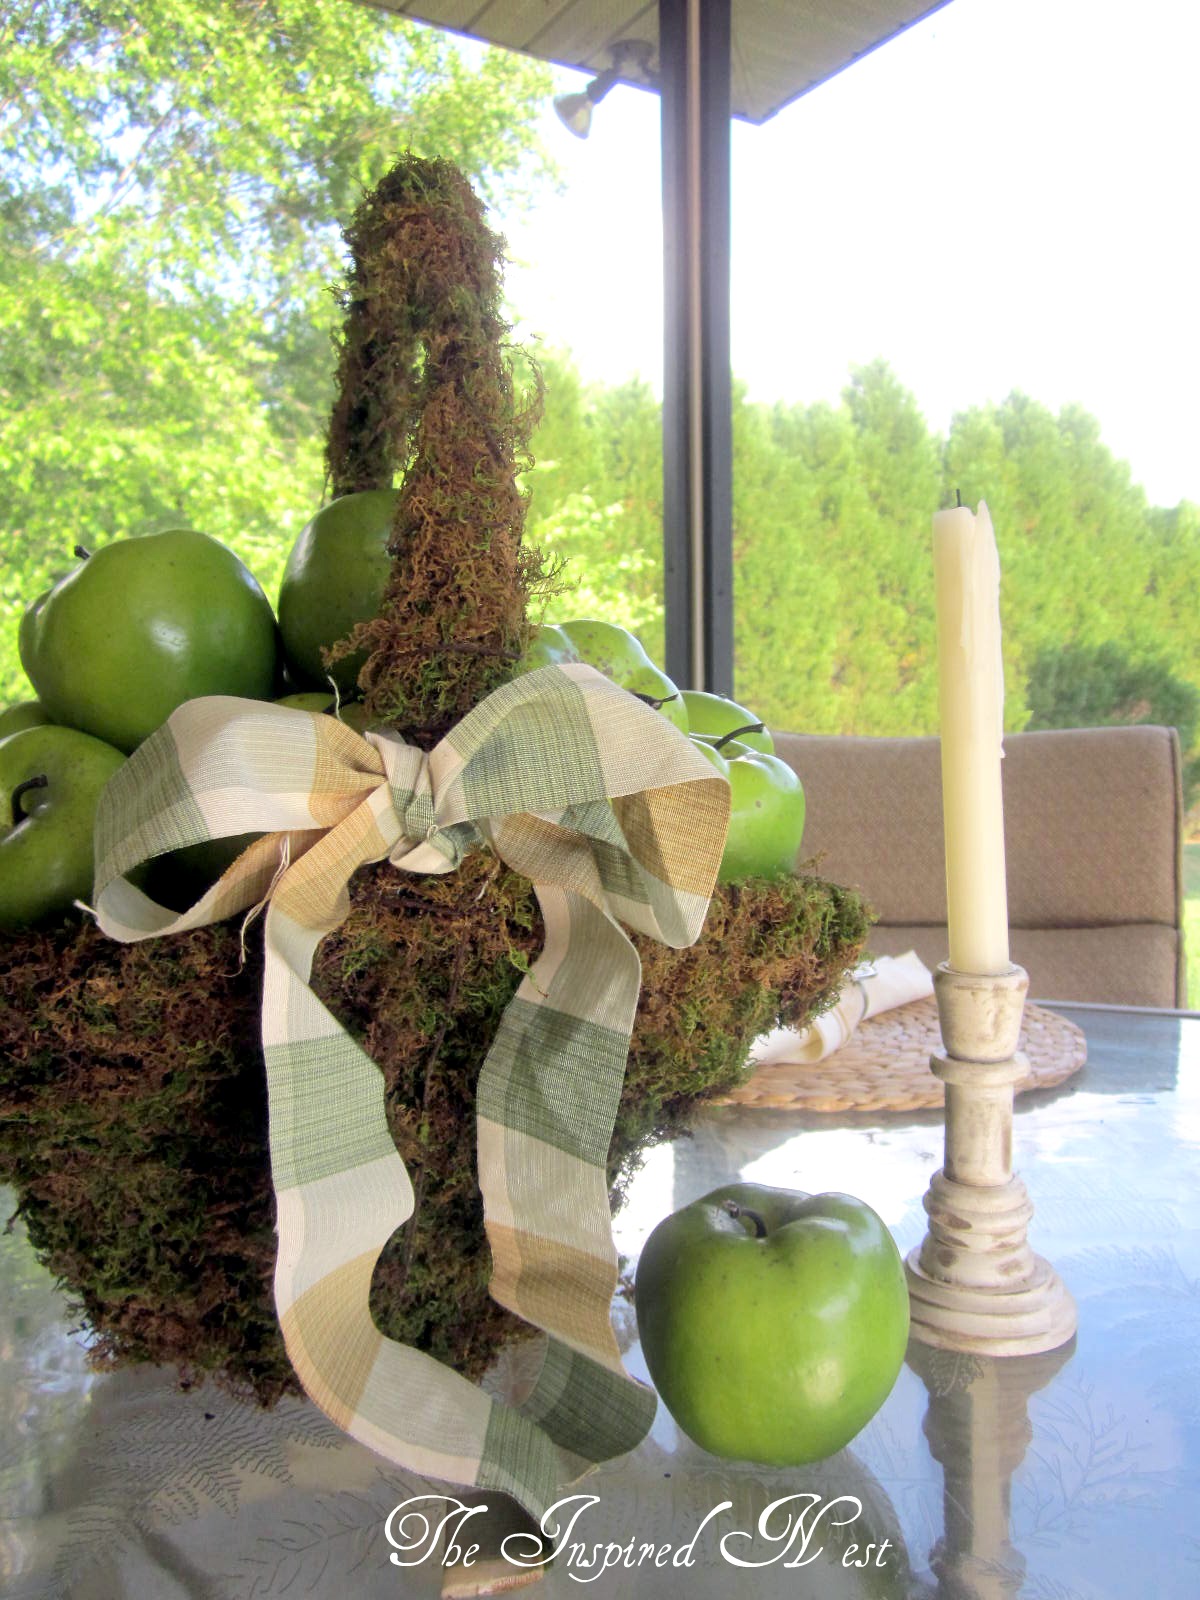

The ribbon is a stripe of fabric I had left over from another project.
I found the apples at Tuesdays Mornings. Place mats are from Ikea.
Enjoy!


8 comments:
Thank you, thank you, thank you! I may actually get brave enough to try this project now that you did a tutorial!
Can't wait to try it. I looks wonderful!
The moss covered basket is simply genious -- great at Easter or anytime. Joni
Lovely tutorial! The basket looks wonderful! Enjoy the beautiful week ahead, Kellie xx
So cute! I love your blog. I am your newest follower. :)
Crystal
This is a fantastic idea! I love the end result.
Love your basket! Thanks for the tutorial. I' getting some fun tablescape ideas...
Stop by if you get a chance. My Vintage Linen & Dish Auction starts Thursday. Just click the auction button on my sidebar for details!
Love this idea. Can't wait to try it. Thanks for sharing. laurie
Post a Comment